Repairing a Broken Huawei NAND Dump and Single-Bit Errors
Introduction
One device that recently came across our desks was a Huawei EchoLife optical network terminal. As part of our standard analysis, we dumped the flash chip on the device in order to analyze the firmware. If you haven’t already seen it, check out a previous Hardware Hacking 101 blog entry which goes over the basic process of identifying and dumping flash from a device.
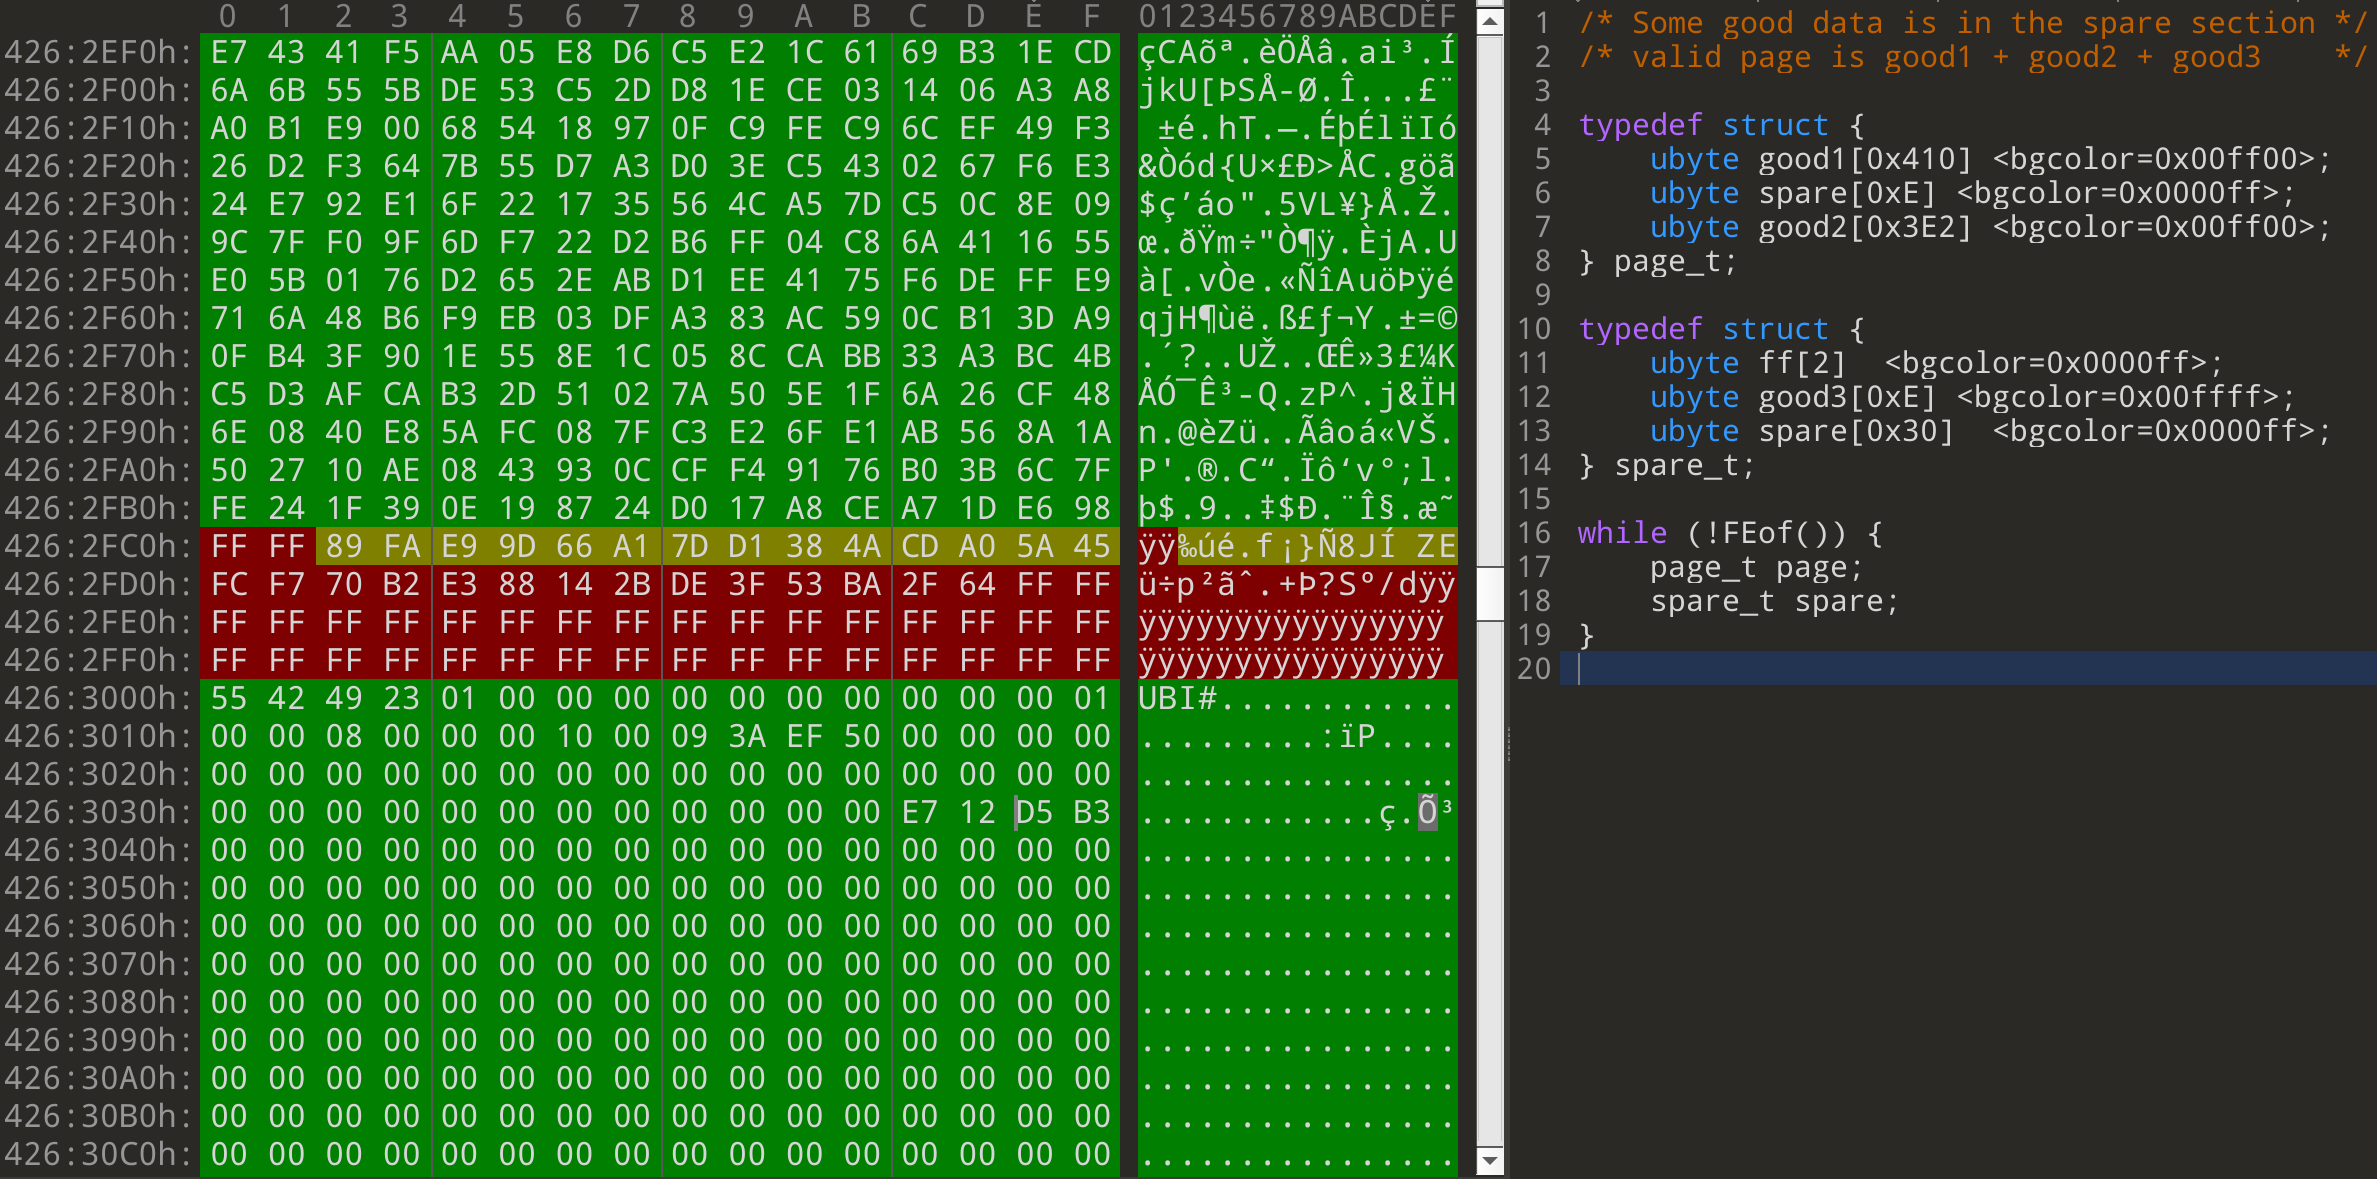
In most cases, once we have a flash dump, an open-source tool like binwalk can handle the rest of the extraction. However, this was one of the rarer cases where considerably more work was needed before we could effectively extract the firmware to return the kernel and filesystems. In this blog post, we’ll go over the process of finding out what was wrong with the flash dump and how we repaired it.
Hardware Hacking 101: Communicating with JTAG via OpenOCD
Introduction
Welcome back to our introduction to hardware hacking 101 and the final installment of the JTAG blog post series! In this post we cover how to communicate with a target device via JTAG once the pinout has been identified. We walk through Open On-Chip Debugger (OpenOCD) and GDB (GNU project debugger), demonstrate how to read and write from memory, and more broadly discuss the impacts of an exposed JTAG interface on production devices. If you haven’t already, make sure to check out our previous JTAG posts: in part 1 we provide background on JTAG and in part 2 we share a teardown of a TP-Link AC1750 to demonstrate how to identify and verify a pinout for JTAG.
Hardware Hacking 101: Identifying and Verifying JTAG on a Device
Introduction
Welcome back to our introduction to hardware hacking 101 series and our second installment of our JTAG blog post! In this post we share a teardown of a TP-Link AC1750 to demonstrate how to identify and verify a pinout for JTAG. If you haven’t already, make sure to check out part one of the JTAG post where we provide background on the interface and its characteristics.
Hands On
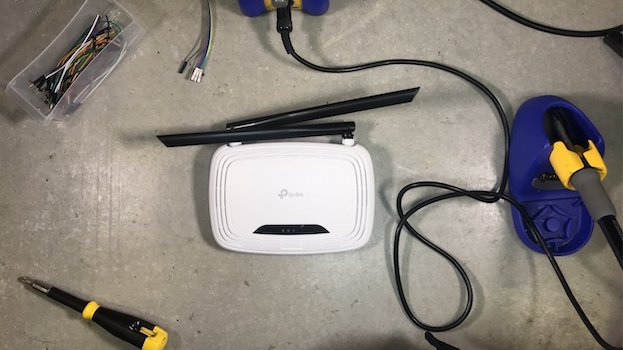
Now that we have covered how JTAG works and its interface, let’s take a look at a TP-Link Archer C7 | AC1750 dual band wireless router to demonstrate how to locate and identify the pinout for JTAG.
Hardware Hacking 101: Introduction to JTAG
Introduction
Welcome back to our introduction to hardware hacking series! In this post we will be covering the Joint Test Action Group (JTAG) interface, its state machine, pinout, and electrical characteristics. This is the first part of a multi-part series about JTAG. In this first installment, we provide background and information to get started working with JTAG. In our next post, we will share a teardown of a TP-LINK AC1750 to demonstrate how to identify and verify a pinout for JTAG. Lastly, we will provide examples of how to use this for security research purposes to dump firmware, read and write memory, and perform other actions.
Security Penetration Testing: Why, When, and How?
Proactive cybersecurity protections are critical to overall product success due to increasing risk, combined with consumer and enterprise awareness of cyber practices and their impact. River Loop Security works with a wide variety of organizations to secure their products; as a result we have seen the effectiveness proactive security has on their success. One tool that we often draw upon is penetration testing (‘pentest’ for short), or the act of simulating a scenario in which a malicious actor is attempting to penetrate a device or system. From this scenario, we are able to emulate the attacker mindset and see things that are often missed during regular code review or quality assurance, resulting in valuable feedback that can be used to further secure a system. In this post we will be discussing some key advantages penetration tests provide, the differences in testing during various stages of the product lifecycle, along with some of our methodology on how we work with teams to provide the most value during a penetration test.
Hardware Hacking 101: Glitching into Privileged Shells
Introduction
Welcome back to our hardware hacking series! We are excited to share the “glitching” techniques we use in our device assessment process. Glitching, or voltage or fault injection, is the process of changing voltage levels in a digital system in a manner that causes disruption of the system under test or corruption of data. If timed correctly, a glitch of even 1 millisecond can cause a system to fail open into a potentially privileged state.
Hardware Hacking 101: Identifying and Dumping eMMC Flash
Introduction
Welcome back to our introduction to hardware hacking series! In this post we will be covering embedded MultiMediaCard (eMMC) flash chips and the standard protocol they use. eMMC is a form of managed flash storage typically used in phones, tablets, and many IoT devices because of its low power consumption and high performance. If you haven’t already, make sure to check out our other intro to hardware hacking posts on our blog.
Hardware Hacking 101: Interfacing With SPI
Introduction
Welcome back to our series on an introduction to hardware hacking! In this post we will be covering the Serial Peripheral Interface (SPI) protocol, a commonly used serial bus protocol which allows hardware components to communicate with each other.
The goal of this post is to serve as a guide for security researchers and hardware hackers to easily interface with target devices. Many embedded devices use SPI to access persistent data stored on flash memory. As a result, being able to interface with devices using this protocol allows reading and writing of firmware, which can be crucial to further security analysis.
Hardware Hacking 101: Getting a root shell via UART
Welcome to an introduction to hardware hacking! This series will discuss the basics of interacting with an embedded device though various hardware interfaces. Our team performs penetration testing on IoT / embedded devices every day, and we’re excited to share some of our knowledge and experiences to help those getting started with hardware security learn the ropes. This is a multi-part series which discusses the fundamental concepts, useful tools, and practical techniques which you can use to approach a basic hardware assessment.
For our first blog post in this series, we will focus on a very common type of debug serial communication protocol that can be used to obtain low-level access to a wide range of devices.


